

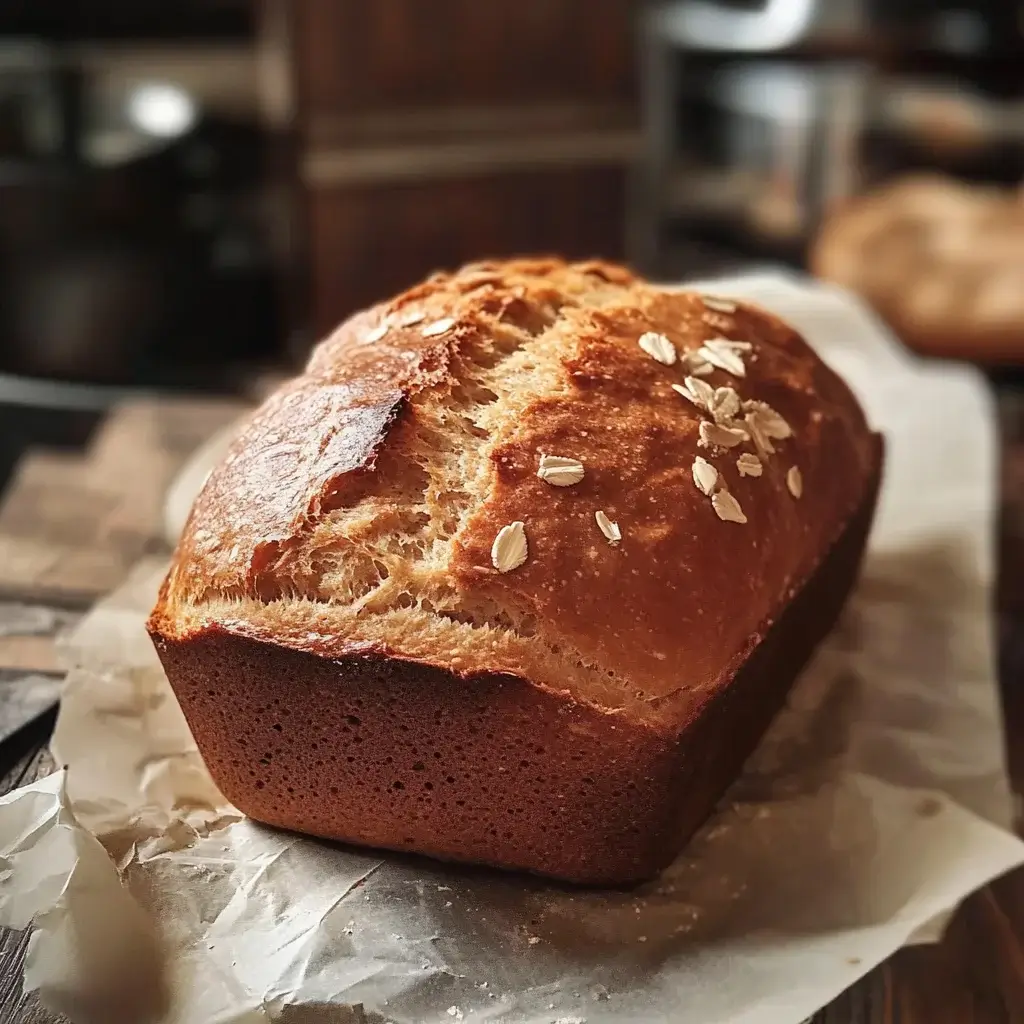
There’s an undeniable comfort in the aroma of bread baking, a simple pleasure that transforms a house into a home. This Simple Brown Loaf recipe is my go-to for those days when I crave wholesome, homemade bread without any fuss. It’s not overly sweet or complex, just a straightforward, hearty loaf with a beautiful soft crumb and a satisfyingly rustic crust. The first time I made this, I was struck by its beautiful golden-brown hue and the wonderfully nutty fragrance from the whole wheat flour. My family loves it toasted for breakfast with a pat of butter and a smear of jam, or as the perfect accompaniment to a warm bowl of soup. It’s the kind of bread that feels both nourishing and wonderfully unpretentious – a testament to the beauty of simple, honest baking.
The Beauty of Simplicity: Your Everyday Brown Loaf
In a world of elaborate sourdoughs and intricate artisan bakes, there’s a special place for a truly Simple Brown Loaf. This recipe strips bread-making back to its wonderful basics, focusing on good quality ingredients and a straightforward method to produce a consistently delicious and versatile loaf. The blend of whole wheat and all-purpose flour strikes a perfect balance, offering the nutritional benefits and nutty flavor of whole grains while ensuring a light enough texture that appeals to everyone.
This isn’t a bread that demands hours of your undivided attention or specialized techniques. It’s designed for the home baker who wants the satisfaction of creating something wonderful from scratch without an overwhelming commitment. The subtle hint of sweetness from a touch of brown sugar or molasses (if you choose to use it) complements the earthy notes of the whole wheat, making it an excellent all-rounder. Whether you’re a novice baker looking for a reliable first loaf or an experienced one seeking a dependable staple, this Simple Brown Loaf recipe will quickly become a favorite.
Gather Your Ingredients: The Heart of Your Loaf
For this Simple Brown Loaf, you’ll need a few pantry staples. Accurate measurements are key to a successful bake.
- Warm Water (105-115°F / 40-46°C): 1 ½ cups (360 ml) – vital for activating the yeast.
- Active Dry Yeast: 2 ¼ teaspoons (1 standard packet, or 7g)
- Brown Sugar (lightly packed) OR Unsulphured Molasses: 2 tablespoons (30g brown sugar) OR 1 tablespoon (15ml molasses) – for a hint of sweetness and color (molasses will give a darker loaf). You can also use honey.
- Salt: 1 ½ teaspoons (9g) – for flavor and yeast control.
- Vegetable Oil (or melted unsalted butter): 2 tablespoons (30 ml) – for a softer crumb.
- Whole Wheat Flour: 2 cups (240g) – for flavor, fiber, and structure.
- All-Purpose Flour (Unbleached recommended): 1 ¾ to 2 ¼ cups (210-270g), plus more for dusting – the exact amount will depend on humidity and your whole wheat flour.
- Optional: A little extra oil or butter for greasing the bowl and pan.
Essential Baking Tools
Having these tools on hand will make the process smooth:
- Large Mixing Bowl
- Measuring Cups and Spoons
- Wooden Spoon or Dough Whisk
- Standard 9×5 inch Loaf Pan
- Clean Kitchen Towel or Plastic Wrap
- Wire Cooling Rack
Step-by-Step Instructions: Crafting Your Simple Brown Loaf
Follow these simple steps to bake your delicious loaf:
1. Activate the Yeast (Proofing):
* In your large mixing bowl, pour in the warm water. Sprinkle the brown sugar (or drizzle in the molasses/honey) and then the active dry yeast over the water.
* Gently stir and let it stand for 5-10 minutes until the mixture is foamy. This confirms your yeast is active. If it doesn’t foam, your yeast might be old, or the water temperature was off; you’ll need to start again.
2. Combine Ingredients:
* To the foamy yeast mixture, add the salt and vegetable oil (or melted butter). Stir to combine.
* Add the 2 cups of whole wheat flour and 1 ¾ cups of the all-purpose flour to the bowl. Mix with a wooden spoon or dough whisk until a shaggy dough forms. If it’s overly sticky, add more all-purpose flour, a tablespoon at a time, until it starts to pull away from the sides of the bowl.
3. Knead the Dough:
* Turn the dough out onto a lightly floured surface.
* Knead for about 7-10 minutes. The dough should become smooth, elastic, and only slightly tacky to the touch. To knead: fold the dough over, push it away with the heel of your hand, rotate a quarter turn, and repeat. Add minimal flour to the surface as needed to prevent sticking.
4. First Rise (Bulk Fermentation):
* Lightly oil the mixing bowl (you can use the same one). Place the kneaded dough into the bowl, turning it once so the top is also lightly oiled.
* Cover the bowl with plastic wrap or a clean, damp kitchen towel.
* Let the dough rise in a warm, draft-free place for about 1 to 1 ½ hours, or until it has doubled in bulk.
5. Shape the Loaf:
* Gently punch down the risen dough to release the air.
* Turn the dough out onto a lightly floured surface. Gently pat or roll it into a rectangle roughly 8 inches wide (the shorter side of your loaf pan).
* Tightly roll up the rectangle from one of the shorter ends to form a log. Pinch the seam and the ends firmly to seal.
6. Second Rise (Proofing in Pan):
* Grease your 9×5 inch loaf pan.
* Place the shaped loaf, seam-side down, into the prepared pan.
* Cover the pan loosely with lightly greased plastic wrap or a clean kitchen towel.
* Let it rise in a warm place for another 30-60 minutes, or until the dough has risen about 1 inch above the rim of the pan. It won’t quite double this time.
7. Preheat Oven and Bake:
* About 20 minutes before the second rise is complete, preheat your oven to 375°F (190°C). Place an oven rack in the center position.
* Once risen, place the loaf pan into the preheated oven.
* Bake for 30-40 minutes. The bread is done when the crust is golden brown and the loaf sounds hollow when you tap the bottom. An internal temperature check with an instant-read thermometer should register 190-200°F (88-93°C).
* If the top browns too quickly, you can loosely tent it with aluminum foil for the last 10 minutes of baking.
8. Cool the Bread:
* Immediately remove the bread from the loaf pan and transfer it to a wire cooling rack.
* Let it cool completely (at least 1 hour, preferably 2) before slicing. This is important for the texture, as the bread finishes setting up as it cools. Slicing warm bread can result in a gummy interior.
Nutrition Facts (Approximate)
- Servings: This recipe makes 1 standard loaf, about 12-14 slices.
- Calories per serving (assuming 14 slices): Approximately 140-170 calories per slice.
Disclaimer: This is an estimate. Actual nutritional values will vary based on specific ingredients and exact portion sizes.
A single slice (approx. 1/14th of the loaf) may contain:
- Fat: 2-3g
- Saturated Fat: <0.5g
- Cholesterol: 0mg (if using oil)
- Sodium: 230-280mg
- Carbohydrates: 28-32g
- Fiber: 3-4g
- Sugars: 2-3g
- Protein: 4-5g
This loaf is a good source of dietary fiber.
Preparation Time Breakdown
Here’s what to expect time-wise:
- Active Preparation Time (mixing, kneading, shaping): 20-25 minutes
- Yeast Proofing Time: 5-10 minutes
- First Rise: 60-90 minutes
- Second Rise: 30-60 minutes
- Baking Time: 30-40 minutes
- Cooling Time (essential): At least 1-2 hours
Total Time (start to cooled loaf): Approximately 3 ½ to 5 hours (largely inactive rising and cooling time).
How to Serve Your Simple Brown Loaf
This versatile loaf is perfect for many occasions:
- Breakfast Essential:
- Toast slices and serve with butter and your favorite jam, marmalade, or honey.
- Top with peanut butter or almond butter for a protein boost.
- Use for eggs on toast or alongside a full breakfast.
- Makes great cinnamon toast.
- Lunchtime Hero:
- The ideal bread for sandwiches – try it with cheese and chutney, ham and mustard, or a hearty salad filling.
- Serve alongside a bowl of soup or a fresh salad.
- Dinner Companion:
- Perfect for mopping up sauces from stews or casseroles.
- Serve with a cheese board as a rustic alternative to crackers.
- A simple slice with butter alongside any main meal.
- Snack Attack:
- A plain slice is a satisfying snack on its own.
- Enjoy with a cup of tea or coffee.
Additional Tips for a Perfect Loaf
- Flour Power: The amount of all-purpose flour can vary. Start with the lower amount and add more only if the dough is excessively sticky. You want a soft, slightly tacky dough, not a stiff one.
- Warmth for Rising: Yeast loves warmth. Find a cozy, draft-free spot for your dough to rise. If your kitchen is cool, you can place the bowl in an oven that’s turned off but has the light on, or near a sunny window (but not in direct, hot sun).
- Don’t Over-Proof: While a good rise is essential, letting the dough rise for too long (especially on the second rise) can cause it to collapse in the oven or have a very coarse, airy texture and yeasty flavor. Stick to the visual cues (doubled in bulk for the first rise, about 1 inch above the pan rim for the second).
- Cool it Down: Resist the urge to slice into the bread straight from the oven. Cooling completely on a wire rack allows the steam to escape and the internal structure (crumb) to set properly, preventing a gummy texture.
- Storage Smarts: Once completely cool, store your loaf in a bread bag, a sealed container, or wrapped in plastic wrap at room temperature for up to 3 days. For longer storage, slice and freeze in a freezer-safe bag for up to 3 months.
Frequently Asked Questions (FAQ)
Q1: Can I use only whole wheat flour for this recipe?
A: You can, but the loaf will be much denser and heavier. All-purpose flour helps to lighten the texture. If you want to use all whole wheat, you might need to slightly increase the liquid and expect a significantly different, more rustic outcome.
Q2: My bread didn’t rise very much. What went wrong?
A: Several factors could be at play:
* Yeast: Your yeast might have been old/expired, or the water used to activate it was too hot (killing it) or too cold (not waking it up).
* Temperature: The rising environment might have been too cool, slowing down yeast activity.
* Salt: Too much salt, or salt added directly to the yeast before it was hydrated, can inhibit yeast.
* Under-kneading: Insufficient kneading means the gluten structure isn’t developed enough to trap the gases produced by the yeast.
Q3: Can I make this recipe without kneading by hand?
A: Yes, you can use a stand mixer with a dough hook. Mix on low speed until the dough comes together, then knead on medium-low for about 5-7 minutes, or until the dough is smooth and elastic and clears the sides of the bowl.
Q4: How do I know if my water is the right temperature for the yeast without a thermometer?
A: The water should feel comfortably warm to the touch, like a baby’s bathwater – not hot, not lukewarm. If you can hold your finger in it for a few seconds without discomfort, it’s likely in the right range (105-115°F or 40-46°C).
Q5: Can I add seeds or oats to this bread?
A: Absolutely! You can add about ½ cup of seeds (like sunflower, pumpkin, flax) or rolled oats to the dough along with the flour. You can also sprinkle some oats or seeds on top of the loaf before baking for a decorative touch (brush the top with a little water or milk first to help them stick).
This Simple Brown Loaf is a wonderfully rewarding bake, yielding a delicious, wholesome bread that’s perfect for any occasion. Enjoy the process and the delicious results!
Print
Simple Brown Loaf Recipe
Ingredients
-
- Warm Water (105-115°F / 40-46°C): 1 ½ cups (360 ml) – vital for activating the yeast.
-
- Active Dry Yeast: 2 ¼ teaspoons (1 standard packet, or 7g)
-
- Brown Sugar (lightly packed) OR Unsulphured Molasses: 2 tablespoons (30g brown sugar) OR 1 tablespoon (15ml molasses) – for a hint of sweetness and color (molasses will give a darker loaf). You can also use honey.
-
- Salt: 1 ½ teaspoons (9g) – for flavor and yeast control.
-
- Vegetable Oil (or melted unsalted butter): 2 tablespoons (30 ml) – for a softer crumb.
-
- Whole Wheat Flour: 2 cups (240g) – for flavor, fiber, and structure.
-
- All-Purpose Flour (Unbleached recommended): 1 ¾ to 2 ¼ cups (210-270g), plus more for dusting – the exact amount will depend on humidity and your whole wheat flour.
-
- Optional: A little extra oil or butter for greasing the bowl and pan.
Instructions
1. Activate the Yeast (Proofing):
* In your large mixing bowl, pour in the warm water. Sprinkle the brown sugar (or drizzle in the molasses/honey) and then the active dry yeast over the water.
* Gently stir and let it stand for 5-10 minutes until the mixture is foamy. This confirms your yeast is active. If it doesn’t foam, your yeast might be old, or the water temperature was off; you’ll need to start again.
2. Combine Ingredients:
* To the foamy yeast mixture, add the salt and vegetable oil (or melted butter). Stir to combine.
* Add the 2 cups of whole wheat flour and 1 ¾ cups of the all-purpose flour to the bowl. Mix with a wooden spoon or dough whisk until a shaggy dough forms. If it’s overly sticky, add more all-purpose flour, a tablespoon at a time, until it starts to pull away from the sides of the bowl.
3. Knead the Dough:
* Turn the dough out onto a lightly floured surface.
* Knead for about 7-10 minutes. The dough should become smooth, elastic, and only slightly tacky to the touch. To knead: fold the dough over, push it away with the heel of your hand, rotate a quarter turn, and repeat. Add minimal flour to the surface as needed to prevent sticking.
4. First Rise (Bulk Fermentation):
* Lightly oil the mixing bowl (you can use the same one). Place the kneaded dough into the bowl, turning it once so the top is also lightly oiled.
* Cover the bowl with plastic wrap or a clean, damp kitchen towel.
* Let the dough rise in a warm, draft-free place for about 1 to 1 ½ hours, or until it has doubled in bulk.
5. Shape the Loaf:
* Gently punch down the risen dough to release the air.
* Turn the dough out onto a lightly floured surface. Gently pat or roll it into a rectangle roughly 8 inches wide (the shorter side of your loaf pan).
* Tightly roll up the rectangle from one of the shorter ends to form a log. Pinch the seam and the ends firmly to seal.
6. Second Rise (Proofing in Pan):
* Grease your 9×5 inch loaf pan.
* Place the shaped loaf, seam-side down, into the prepared pan.
* Cover the pan loosely with lightly greased plastic wrap or a clean kitchen towel.
* Let it rise in a warm place for another 30-60 minutes, or until the dough has risen about 1 inch above the rim of the pan. It won’t quite double this time.
7. Preheat Oven and Bake:
* About 20 minutes before the second rise is complete, preheat your oven to 375°F (190°C). Place an oven rack in the center position.
* Once risen, place the loaf pan into the preheated oven.
* Bake for 30-40 minutes. The bread is done when the crust is golden brown and the loaf sounds hollow when you tap the bottom. An internal temperature check with an instant-read thermometer should register 190-200°F (88-93°C).
* If the top browns too quickly, you can loosely tent it with aluminum foil for the last 10 minutes of baking.
8. Cool the Bread:
* Immediately remove the bread from the loaf pan and transfer it to a wire cooling rack.
* Let it cool completely (at least 1 hour, preferably 2) before slicing. This is important for the texture, as the bread finishes setting up as it cools. Slicing warm bread can result in a gummy interior.
Nutrition
- Serving Size: one normal portion
- Calories: 140-170
- Sugar: 2-3g
- Sodium: 230-280mg
- Fat: 2-3g
- Saturated Fat: 0.5g
- Carbohydrates: 28-32g
- Fiber: 3-4g
- Protein: 4-5g


